Haiku is an open source operating system currently in development that specifically targets personal computing. Inspired by the Be Operating System, development began in 2001, and the operating system became self-hosting in 2008 with the first alpha release in September 2009, the second in May 2010 and the third in June 2011. Here we describe how to run a Virtualbox hosted Haiku OS on Mac OS X.
This has been tested on Mac OS X 10.8 (Mountain Lion) MacBook Air. You might need to tweak some settings on other hardware/OS versions.
To run Haiku on top of Mac OS X first download and install Virtualbox.
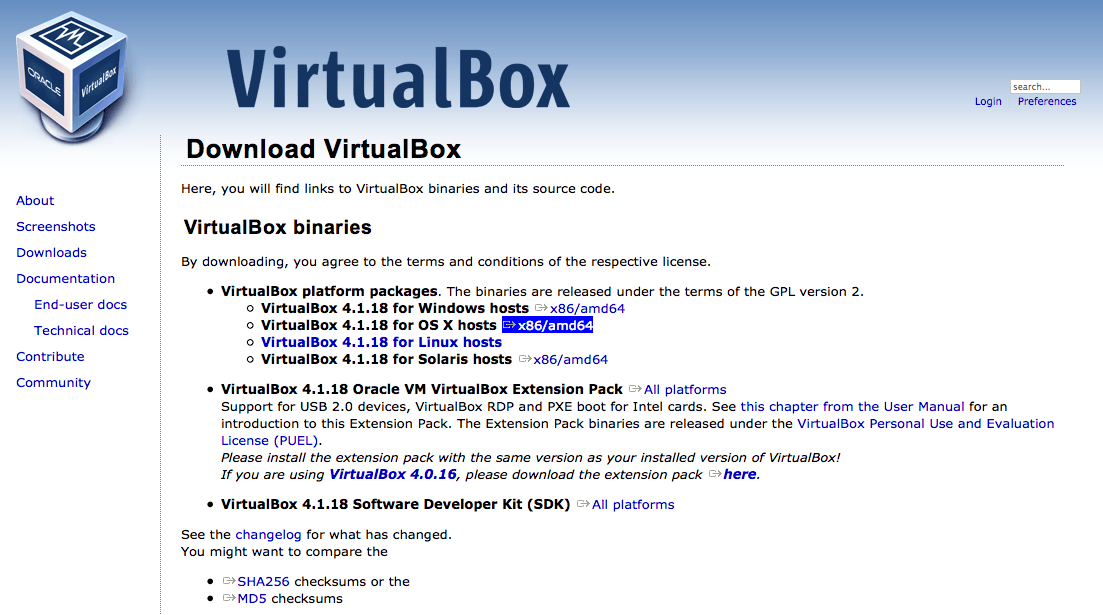
Download the version of Virtualbox for Mac OS X and open up the .dmg. Double-click on Virtualbox.mpkg to start the installation.
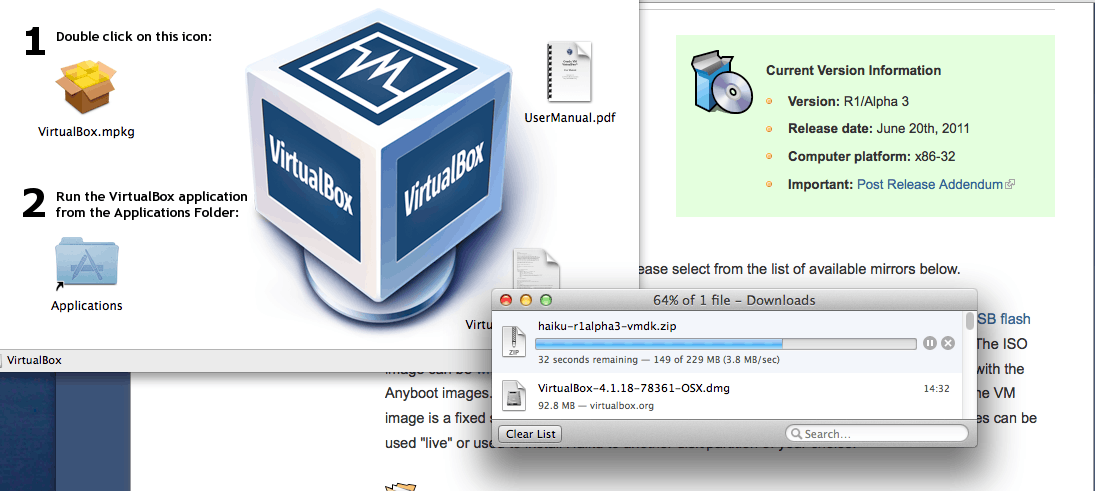
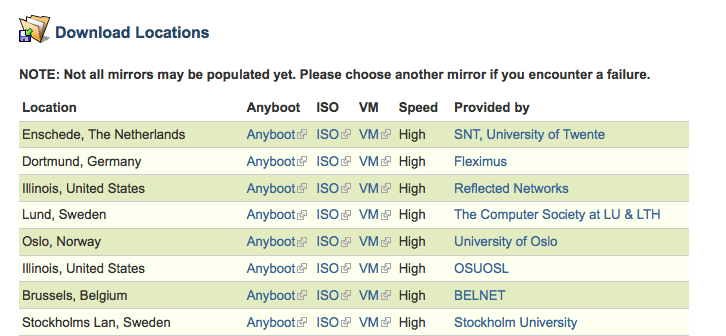
While Virtualbox is installing download a copy of Haiku. The simplest way to get Haiku running in Virtualbox is to download the pre-built VM image. Download the .zip file and double-click to unpack to a folder. Put this somewhere safe: this will hold your Haiku install.
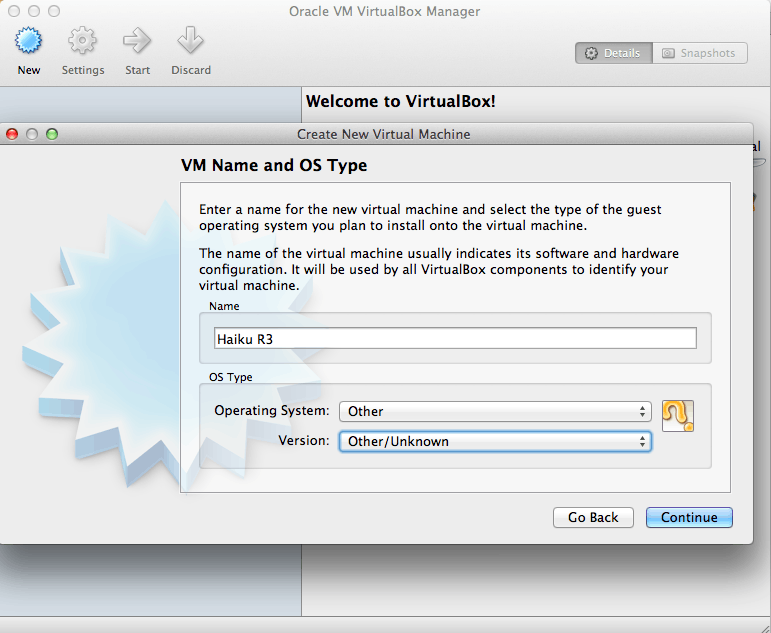
Start up Virtualbox and click to create a new virtual machine. There is a short wizard to set this up. Set the operating system to Other and version to Other/Unknown.
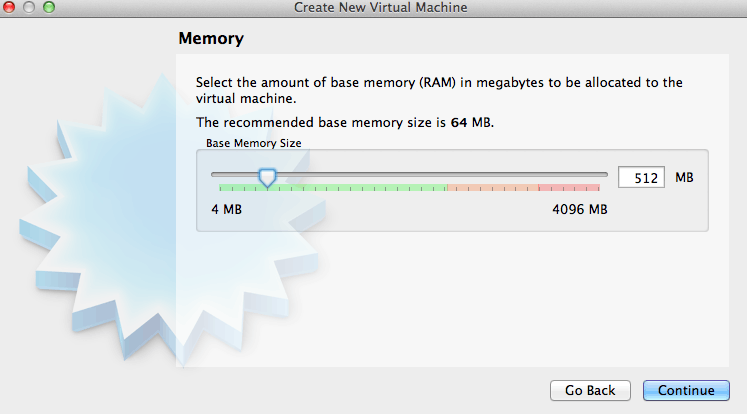
Set the memory according to your host computer but 512MB should be enough for a comfortable Haiku install.
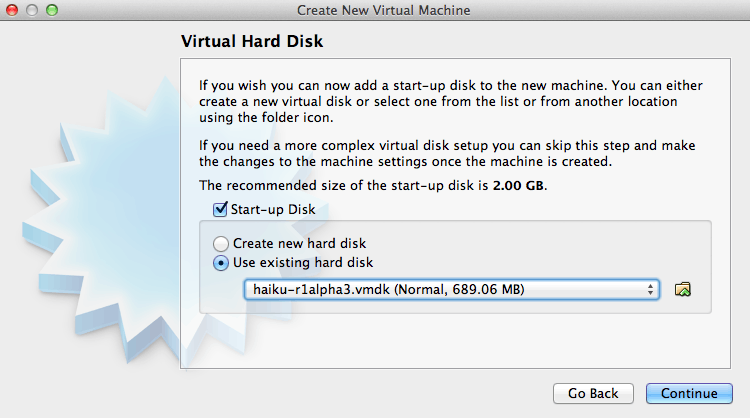
On the Virtual Hard Disk ensure that Start-up disk is checked and select "Use existing hard disk". Click the folder icon to the right on the drop down and browse to the location on your downloaded and unpacked Haiku folder. Select the file named haiku-r1alpha3.vmdk (or similar on later releases).
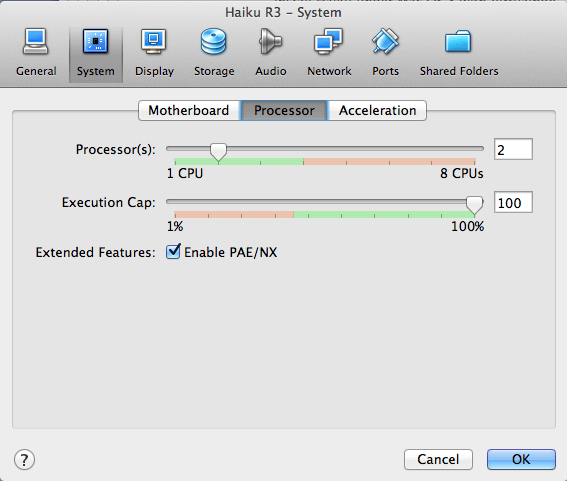
The default settings of Virtualbox work perfectly fine. However, Haiku occasionally locks up on the boot loader screen. A simple fix is to enable dual processor support. To do this right click on the created virtual machine and choose settings. Navigate to System -> Processor and increase the processor(s) to 2. Click OK to save the configuration.
In order to make networking work from within Haiku you will also need to change the virtualised networking card to any of the Intel ones. In settings navigate to Network -> Adapter 1 -> Advanced (hidden drop down section) and change the adapter type for example to Intel PRO/1000 MT Desktop.
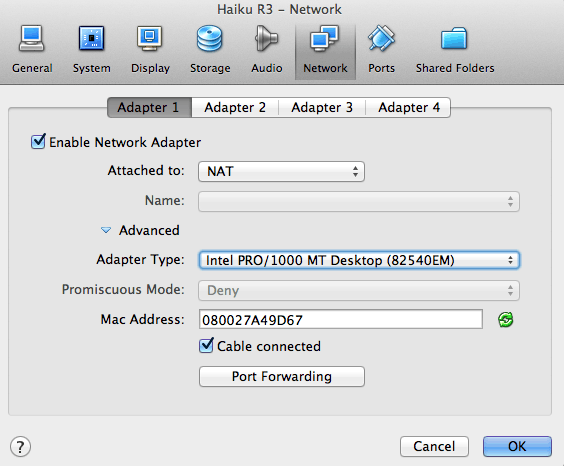
You can leave the attached to setting as NAT or alternatively bind it to a specific adapter in your host computer by choosing Bridged Adapter and then (for example) wlan0 for Wi-Fi/Airport.
Double click the virtual machine to start Haiku!
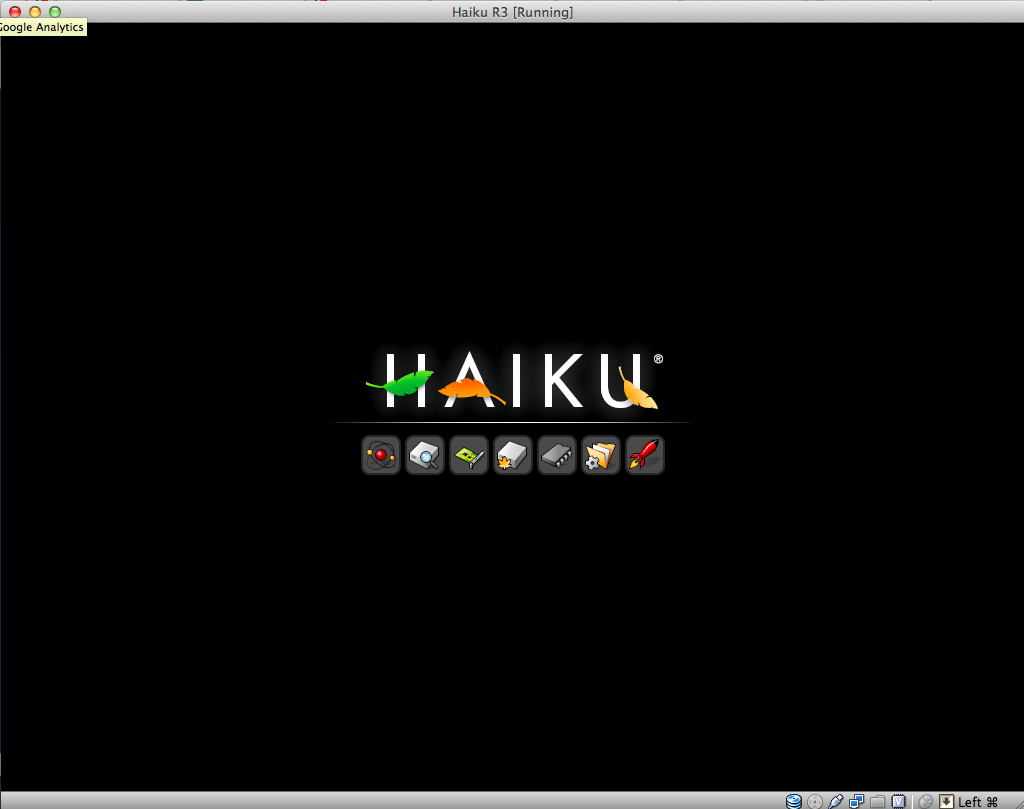
Your mouse and keyboard will be captured by Virtualbox/Haiku if you click in the window. To get it back for use in Mac OS X press the
Command(Cmd) key.
